Angular From Scratch Tutorial – Index
NEXT: Angular From Scratch Tutorial – Step 5: Directives
PREVIOUS: Angular From Scratch Tutorial – Step 3: Binding
Table of Contents
TARGET
Refactoring code to improve visual design using Bootstrap.
Source Code/Download
For more details, the source code may be found on GitHub, “step3” tag (includes step1 up to step3).
INSTALLING BOOTSTRAP
There are many ways to add bootstrap to an Angular project.
In this step it will be used npm installer, one of the alternatives available at Angular: Bootstrap Install Strategies .
1. Import bootstrap.
npm install bootstrap
2. Import the CSS.
Edit “angular.json” and set:
"styles": [
  "src/styles.css",
  "node_modules/bootstrap/dist/css/bootstrap.css",
],
3. If desired jquery, do:
npm install jquery popper.js –save
Edit angular.json and set:
        "scripts": [
            "node_modules/jquery/dist/jquery.js",
            "node_modules/popper.js/dist/umd/popper.js",
            "node_modules/bootstrap/dist/js/bootstrap.js"
        ]
OBSERVATION
Personally, I do not use the “@import” annotation. Something like this:
@import “../../../node_modules/bootstrap/dist/css/bootstrap.min.css”;
The configuration when is set on “angular.json” file is a much better option.
*IMPORTANT NOTE:
Avoid using CSS resources under assets directory.
When deploying to the production using Angular CLI, the CSS files registered in angular.json are minified and bundled into a single styles.css.
The assets folder is copied to the dist folder during the build process then, the CSS code get duplicated.
Only place CSS files under assets if importing them directly in the index.html.
REFACTORING THE HTML USING BOOTSTRAP
1. Define your design.
The application by this moment requires two different styles.
The initial part containing the code created to this post may have a sequential listing with one or more columns.
The second part, that imported from Angular’s ngModel examples (previous post) shall be preserved as it is.
So to refactor the first part we may start choosing a bootstrap template.
Pricing seems to provide a good approach for this tutorial.
2. Refactoring step-by-step using a draft
Copy the code from Pricing and paste to a file using an editor.
Remove the head’s code.
Cut the code between the <body> elements to a new draft.
Remove the bottom stuff like Features, about, etc.
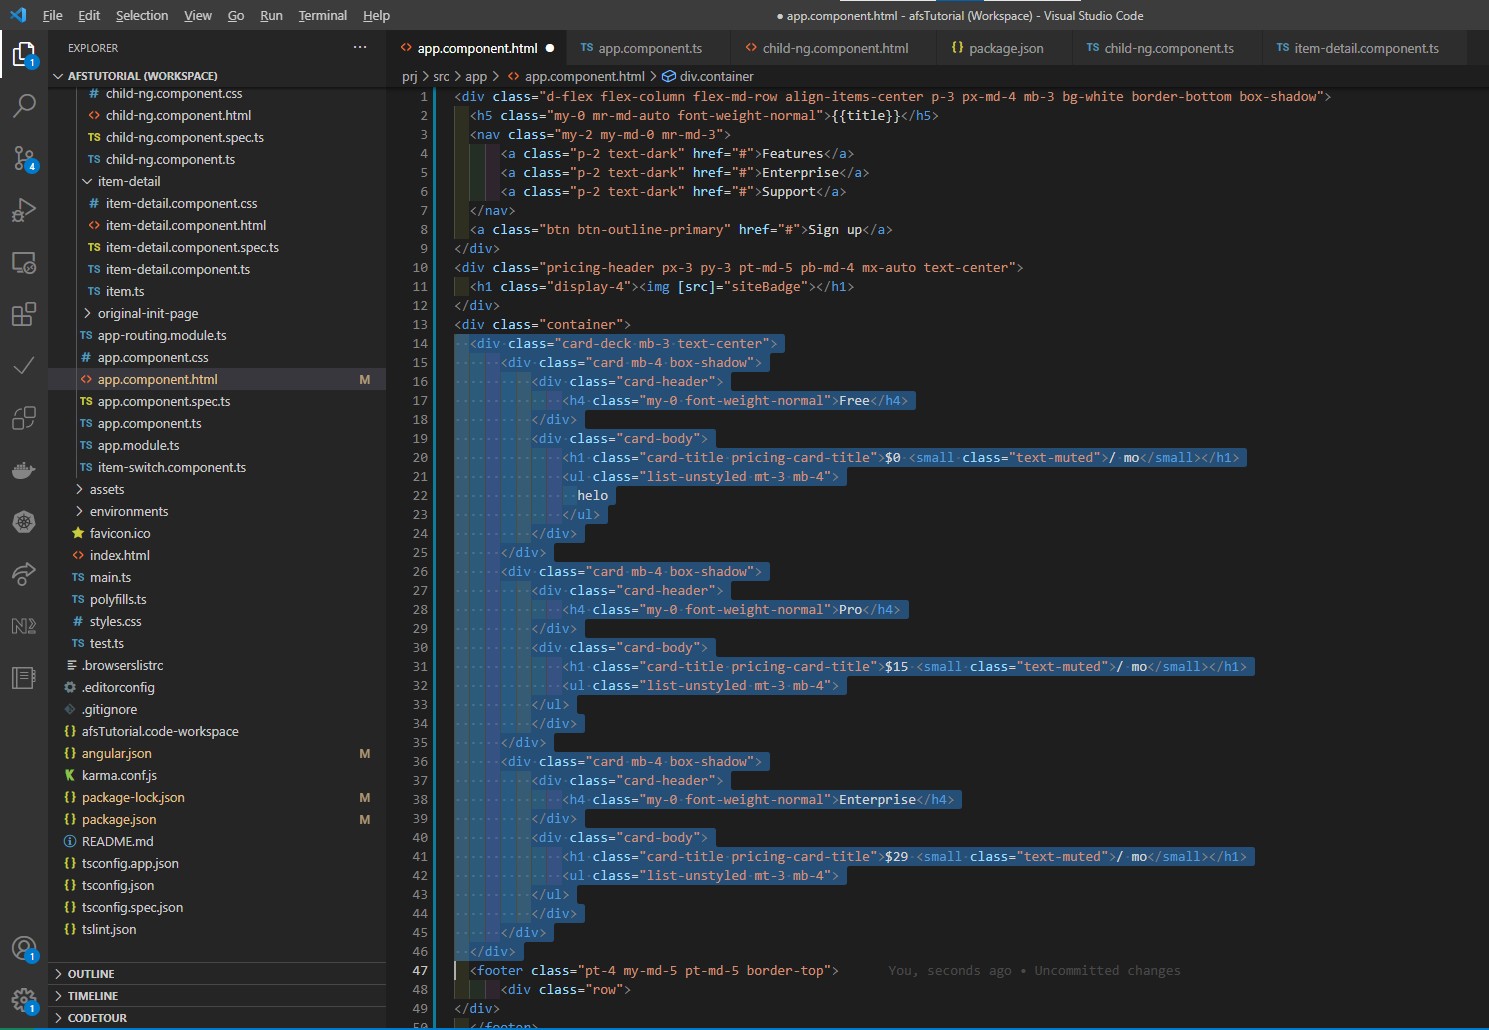
3. Move the code from the draft to the first line of app.component.html file.
The result is:
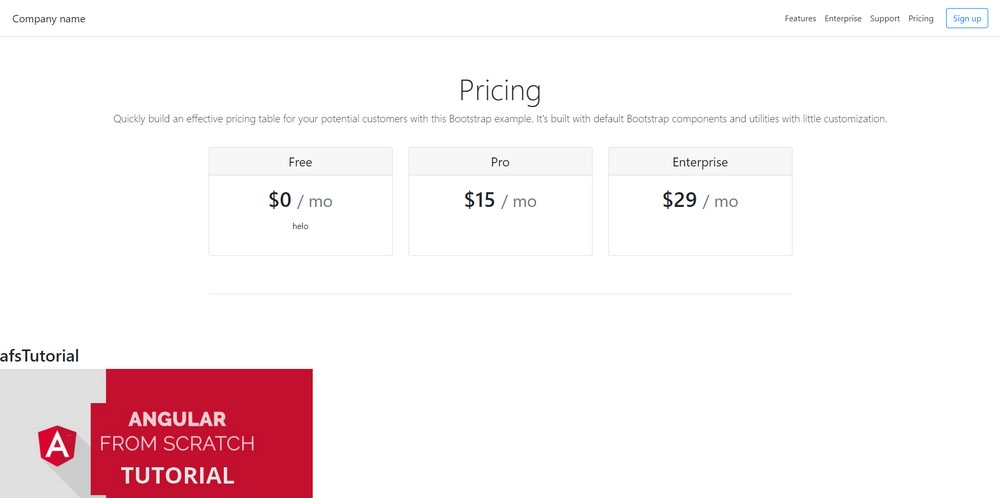
4. Adjusting the code to the bootstrap structure.
Remove the “Pricing” on the top.
Find and remove this line:
<a class=”p-2 text-dark” href=”#”>Pricing</a>
Set “siteBadge
Cut:
<img [src]=”siteBadge”>
and replace “Princing” in this line:
<h1 class=”display-4″>Pricing</h1>
to get this:
<h1 class=”display-4″><img [src]=”siteBadge”></h1>
Remove this line:
<p class=”lead”>Quickly build an effective pricing table for your potential customers with this Bootstrap example. It’s built with default Bootstrap components and utilities with little customization.</p>
Set title
Cut:
<h2>{{title}}</h2>
and replace “Company name”:
<h5 class=”my-0 mr-md-auto font-weight-normal”>Company name</h5>
to get this:
Next step – moving the code to the card
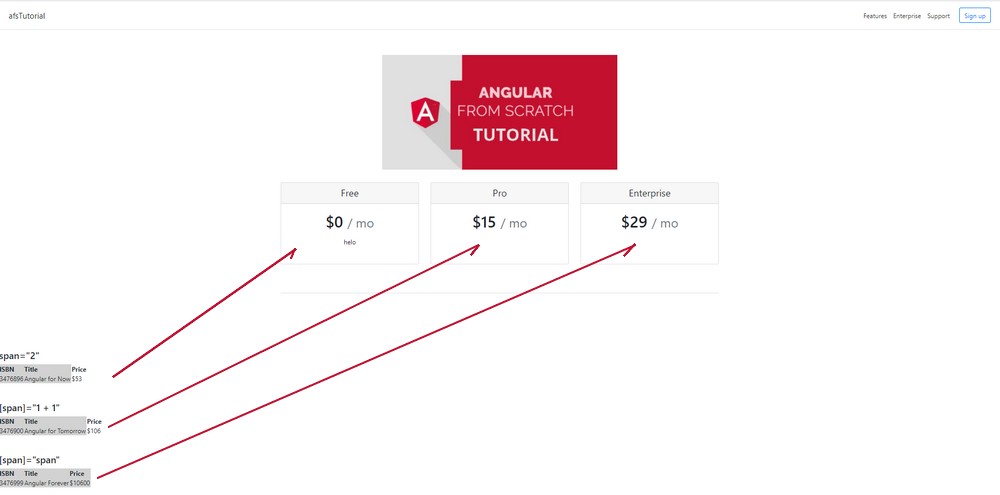
The image shows almost all code. Make sure to move the full three blocks.
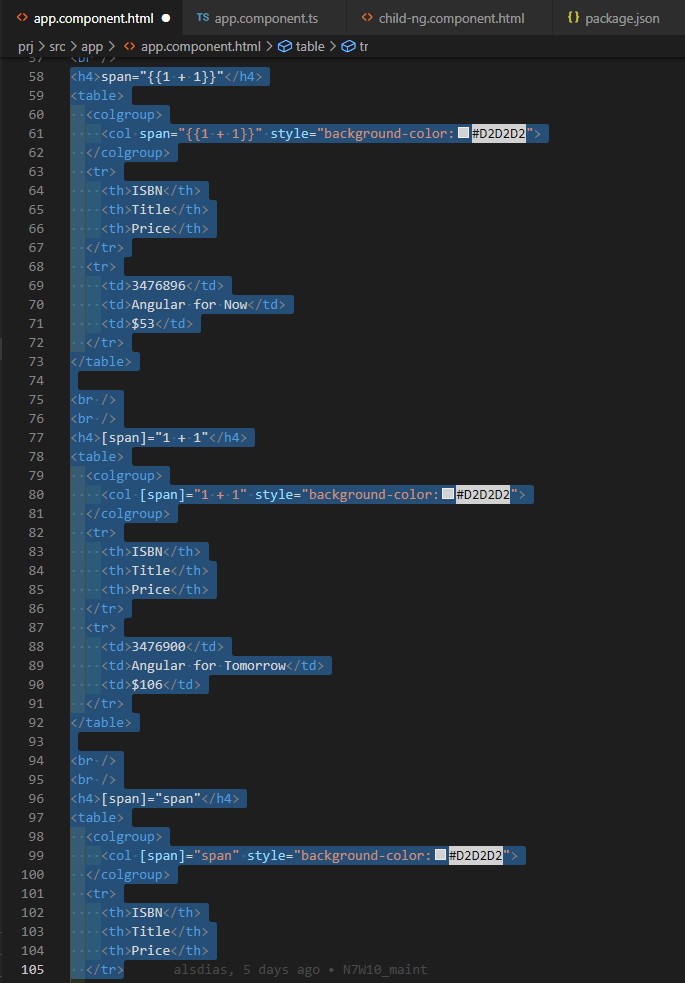
Move:
<col span=”{{1 + 1}}” style=”background-color:#D2D2D2″>
as:
{{1 + 1}}” style=”background-color:#D2D2D2″
replacing:
<h4 class=”my-0 font-weight-normal”>Free</h4>
to get this:
<h4 class=”my-0 font-weight-bold”>{{1 + 1}}” style=”background-color:#D2D2D2″</h4>
Now, move the “table” as shown below:
<table>
<tr>
<th>ISBN</th>
<th>Title</th>
<th>Price</th>
</tr>
<tr>
<td>3476896</td>
<td>Angular for Now</td>
<td>$53</td>
</tr>
</table>
replacing:
to get this:

Refactoring the cards to have just two by line
From:
To:
To get this:

Just adding cellpadding=”10px” cellspacing=”10px” solves the issue.
So, <table> comes to:

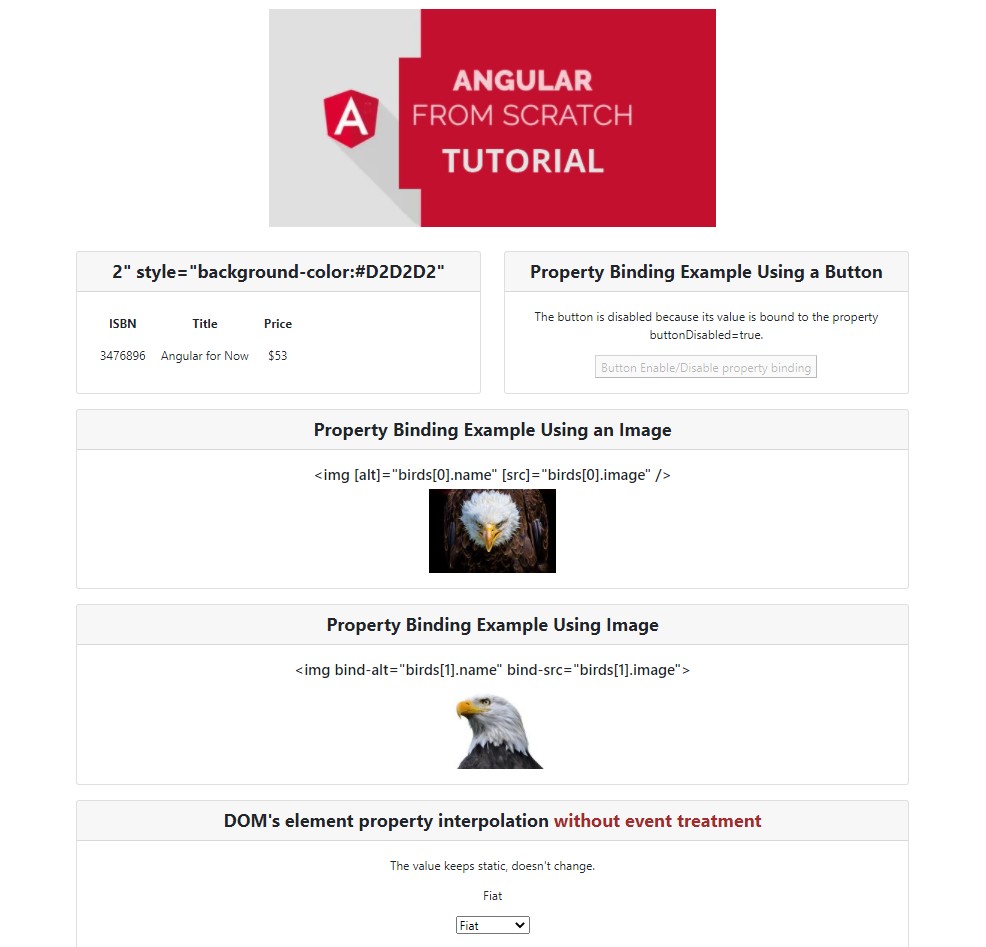
Final Visual After Refactoring
NEXT
Angular From Scratch Tutorial – Index
NEXT: Angular From Scratch Tutorial – Step 5: Directives
PREVIOUS: Angular From Scratch Tutorial – Step 3: Binding
Brazilian system analyst graduated by UNESA (University Estácio de Sá – Rio de Janeiro). Geek by heart.