Table of Contents
#ALTERNATIVE INSTALLATION METHODS
There are at least two alternatives to install a project:
- the detailed, from scratch
- the fast using “npm install”
The former is a good alternative to create your own project.
The latter installs the project from its own configuration defined by the package.json file, being the fastest method to start straight.
#INSTALLING THE PROJECT
Download the project at Github from “features/step01” branch.
Go to the project folder and run:
npm install
To start the app, run:
ng serve
or using another port:
ng serve –port 4300
Go to the browser and point to:
localhost:4200
#STARTING FROM SCRATCH
#PRE-REQUISITES
Assuming that node.js is already installed.
Otherwise go to:
How To Install Node.Js And NPM On Windows
#CREATE THE ROOT DIRECTORY
1. Create a folder.
– Using console:
mkdir C:\it4us
mkdir C:\it4us\angular10bst
2. Go to the new folder created.
– Using console:
cd C:\it4us\angular10bst
#INSTALL angular/cli
This installation supplies the basic structure and commands.
Assuming that there are no previous installations on your system, you may install it globally, otherwise, to preserve your previous environment go to “ANGULAR: Step One B – Creating A Local Installation To Preserve Current Environment“.
– Run the command to install v.10.0.8, same as used to create this tutorial:
npm install -g @angular/cli@10.0.8
If desired the last one, but better using the same version used to this tutorial to avoid issues:
npm install -g @angular/cli@latest
#CHECK VERSION
Run the command:
ng –version
You get the an output similar to this one:
Angular CLI: 10.0.8
Node: 12.18.3
OS: win32 x64
Angular:
…
Ivy Workspace:
Package Version
——————————————————
@angular-devkit/architect 0.1000.8
@angular-devkit/core 10.0.8
@angular-devkit/schematics 10.0.8
@schematics/angular 10.0.8
@schematics/update 0.1000.8
rxjs 6.5.5
#GENERATE THE PROJECT
1. Run the command:
ng new angular10bst
Note: choose yes for the 1st question and enter for the 2nd.

2. Go the project’s folder created.
Note: all commands from now on will be issued under the project’s folder created by the previous command.
cd angular10bst
ng build
ng serve
To start the server using a different port to avoid conflicting with other projects, run:
ng serve –port 4300
3. To test, open the browser and point to:
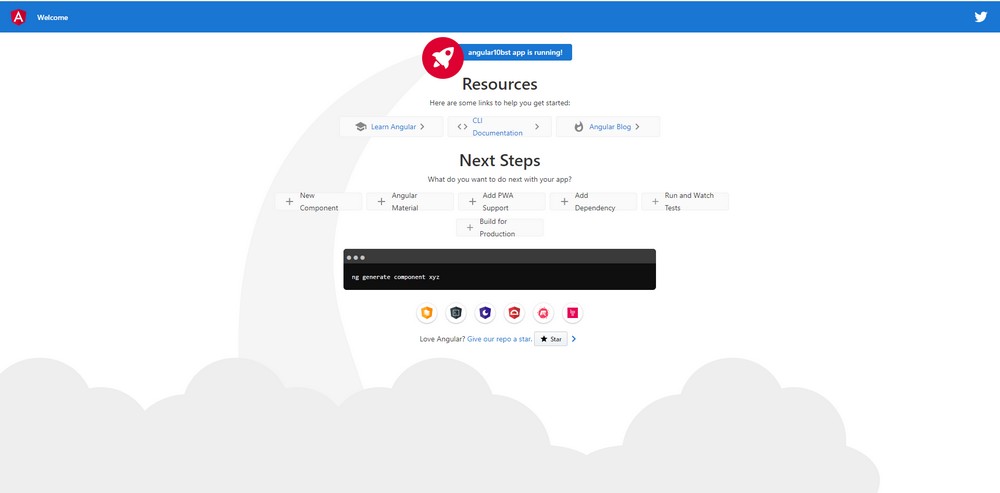
http://localhost:4200/
The default Angular 10 initial page:
#How does the default view work?
When pointed to localhost:4200 (or another port), the routing service will redirect to the default address.
This is configured in the app-routing.module.ts file at:
By its turn the app.component.html contains <router-outlet></router-outlet> element that it is replaced by any content generated by the router service as explained in the Angular’s documentation:
“Acts as a placeholder that Angular dynamically fills based on the current router state.”
#INSTALLING ng-bootstrap
ng add @ng-bootstrap/ng-bootstrap
@CHECK: it seems that ng cmd already add configuration to angular.json file.
#INSTALLING Bootstrap
Run:
npm install bootstrap
Brazilian system analyst graduated by UNESA (University Estácio de Sá – Rio de Janeiro). Geek by heart.
