Table of Contents
Target
A revision of all the main steps to install an Angular site with Spring Boot web service using Docker.
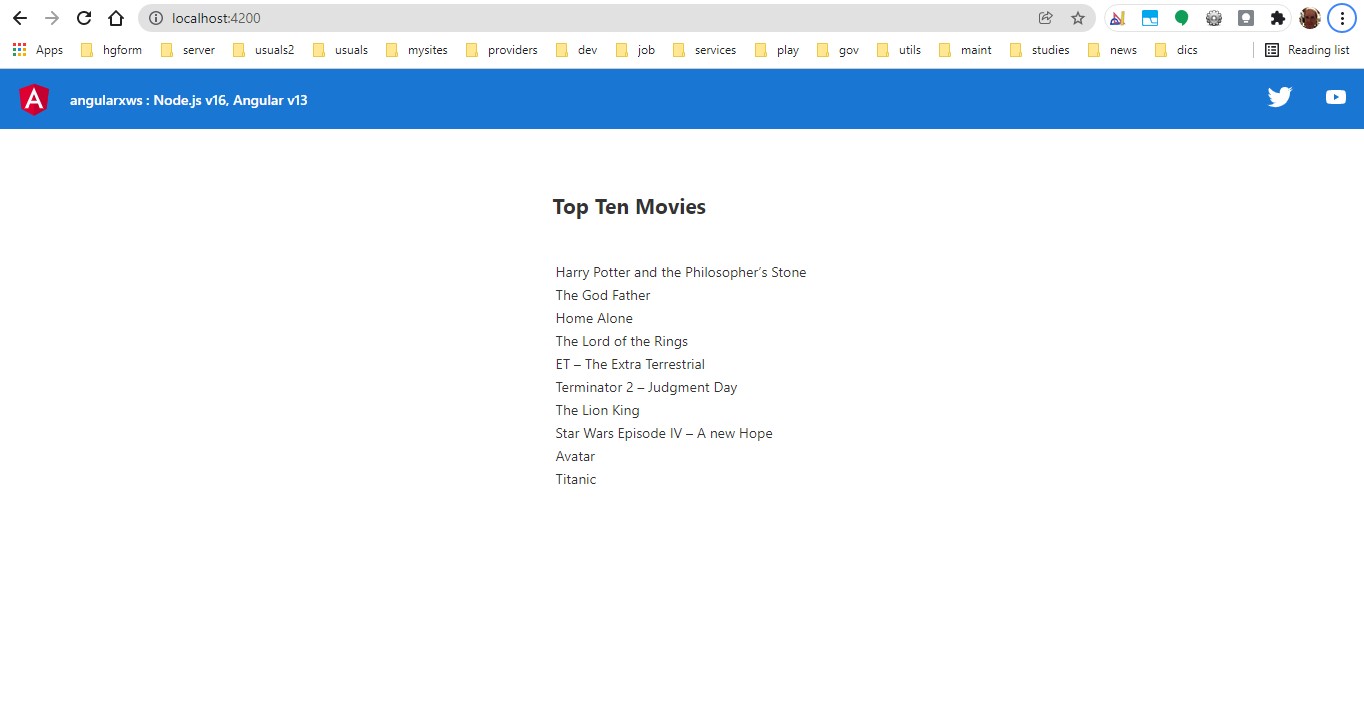
The app calls the web service that works with a mocking database and shows the top ten movies list.
The main page loads the movies’ list on its initialization.
Since the persistence layer is not the primary target, this list is hard-coded, and the decision to mock the database comes to simplicity since the target of this project is to show how to implement an application with web services using docker, otherwise, we would have extra steps to persist the list on the database.
The docker image has a PostgreSQL database installed on it, so the implementation of a persistence layer is made simpler.
Environment
Angular 13, Node.js 16, Spring Boot 2 and PostgresSQL 11.
Download
Github – Angular v13 demo project with Spring Boot v2 Web Service Using Docker
Pre-Requisites
Pre-installed Docker applicataion, minimum version >= 20.10.11, build dea9396
Basic Linux knowledge to handle the environment basics.
Conventions
The double currency sign (‘$$’) means the console command inside the container.
Take it out when copying the command.
Commands denoted with single currency sign ($) are to be used on the console outside the container.
If Windows, use “W+R cmd”.
If Debian/Ubuntu, use gnome-terminal, etc.
Download the image from Docker Hub
First, it is required the login:
$ docker login
Insert your login and pass, then run:
$ docker pull alsdias/d10n16:latest
To test, check your local repository:
$ docker images
Extra
Suppose you wish to discover all images from a specific publisher.
Try:
$ docker search alsdias
Installing the Database and Creating the Image
Now, in this step it is installed PostgreSQL 11 and after it is created an image that may be used later for many purposes.
docker run –name d10n16pg11 -it alsdias/d10n16 bash
This command will send you to the container’ console (remember, on docker, we use double currency to sign).
Testing the Node.js installation
$$ng v
– shall return:
Angular CLI: 13.1.2
Node: 16.13.1
Installing PostgreSQL 11
$$apt update
$$apt install postgresql postgresql-contrib
– Log as postgres:
su postgres
– Start service:
service postgresql start
– To verify the installation we’ll connect to the PostgreSQL database server using the psql utility and print the server version:
psql -c “SELECT version();”
– returns:
——————————————————————————————————————
PostgreSQL 11.14 (Debian 11.14-0+deb10u1) on x86_64-pc-linux-gnu, compiled by gcc (Debian 8.3.0-6) 8.3.0, 64-bit
(1 row)
Or if not logged as postgres:
sudo -u postgres psql -c “SELECT version();”
– Return to su:
exit
– discover home and psql cmd path:
whereis psql
/usr/bin/psql
whereis postgresql
/usr/lib/postgresql /etc/postgresql /usr/share/postgresql
Push to dockerhub
When the image is pushed to DockerHub repository it is possible to reuse it whenever necessary making a pull.
docker ps -l

docker commit aece2f6c10f4 alsdias/d10n16pg11
– Returns
sha256:2d03b7c0e0c8ea773539409d2e5787477a1adc7cf05f5184164c079268dcf97a
docker push YOUR_LOGIN_HERE/d10n16pg11
latest: digest: sha256:3818d2c391bba0cfb9d87acd856659234eb858732af12997791a735d892ca074 size: 1798

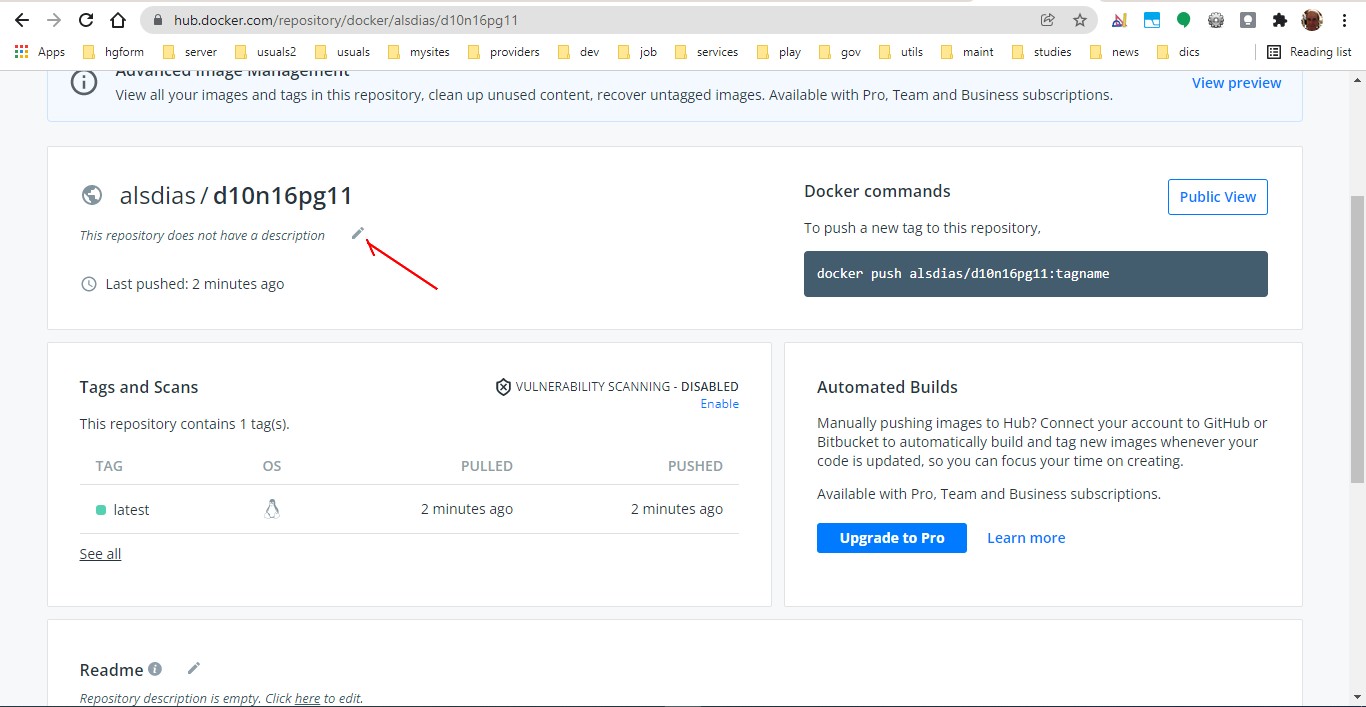
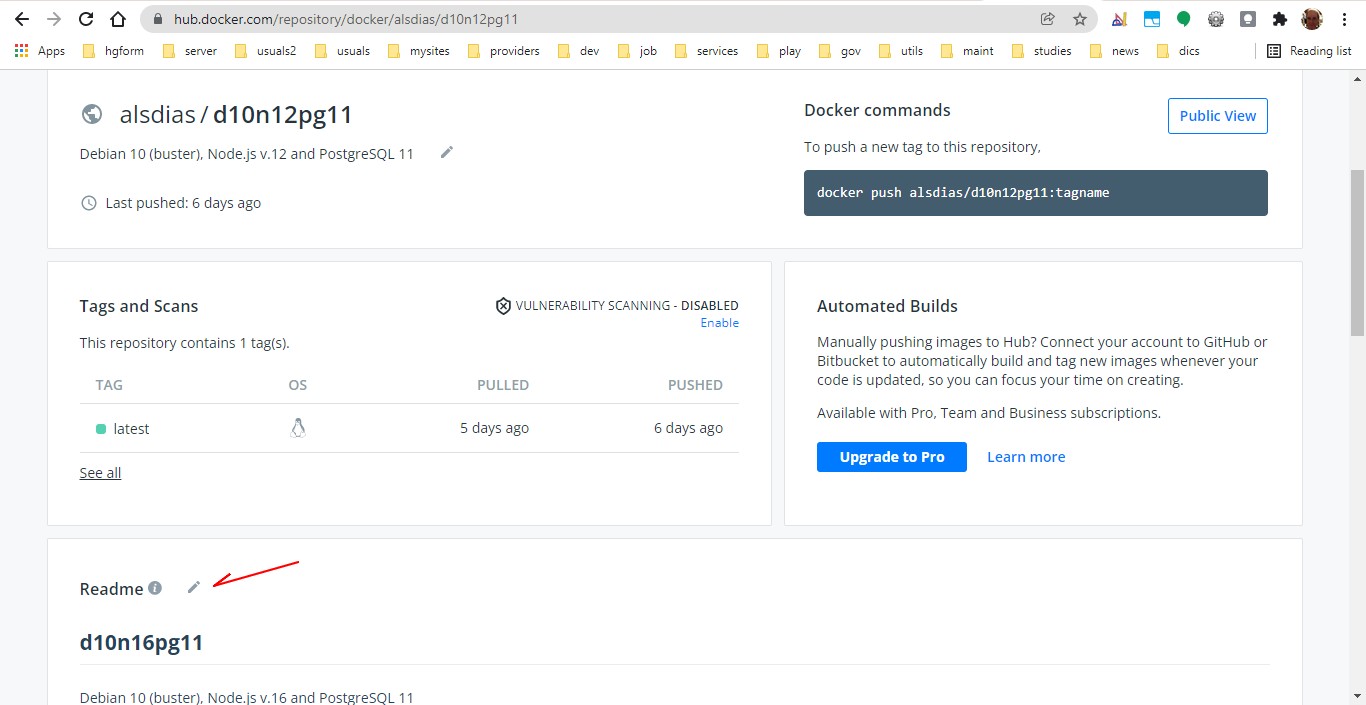
Go to dockerhub and document the new image
In this example, it was used my account that is:
https://hub.docker.com/repository/docker/alsdias/d10n16pg11
Yours shall be something like this:
https://hub.docker.com/repository/docker/MY_LOGIN/d10n16pg11
Set the description and README
Creating the Local Docker’s network
The project has the Angular client and the Spring Boot web service.
Each project is set to work on its own container.
The containers must communicate with each other, so it is necessary to create a network to provide communication between them.
Do:
$ docker network create angularxws

Project Setup
Download the project from Gihub and move it to a local folder.
Create a local folder to the project.
In this tutorial I’ve used:
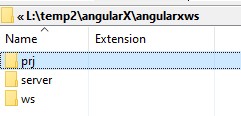
L:\temp2\angularX\angularxws
where “L:” maps to an external HD.
NOTE:
You may use wherever you wish, for instance: C:\temp, but DON’T use a mapped drive from another machine of your network.
You must get something like this:
Starting the container for the Angular client
Before you run the command below, switch the paths accordingly to your local paths.
Check the local path in the -v argument (highlighted) that maps the host’s path and set your own path.
$ docker run –name angularcli -it -p 4100:4100 –network angularxws –rm -v L:\temp2\angularX\angularxws:/data alsdias/d10n16pg11 bash
where:
-it = after the command is executed, you are able to access the container’s prompt.
-p = maps the container’s port to the host’s port.
–name = makes possible to use a name instead the container’s ID.
–network = sets the container on the network created in the previous step.
–rm = automatically remove the container when it exits
-v = maps the host’s path to the container’s path
bash = defines the container’s prompt to work with bash

After the command is run, the container’s prompt is available.
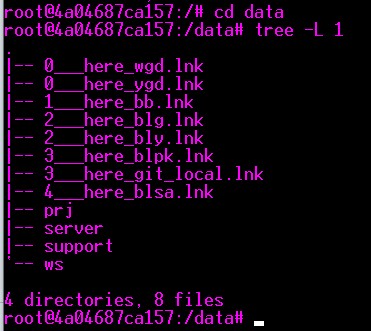
To checking the directory structure of the application, do:
$$ cd data
$$ tree -L 1
You shall get something like this:
Now it is time to install the app:
$$ cd /data/prj
Set the permissions to enable execution:
$$ chmod 775 st.sh
Install the app’s libraries:
$$ npm install
It takes some time until it is finished.
Additional commands may be asked to run after the installation is done.
Do NOT use “npm audit fix –force”, but “npm audit fix”, without the “–force” parameter.
Why?
Check here: node.js: angular: An unhandled exception occurred: require() of ES Module
Now, the app is ready to go, but before we are going to create an image to work with.
Creating an image from the Angular container
We’ve started with a Debian 10 container having the Node.js 16 already installed to make things faster.
Now, the strategy here is to create a container ready to go from the current container.
This step may be skipped, but creating a local image we create a working copy of the remote and, also we train to do this.
On the Windows prompt, do:
$ docker ps -l
This command brings the last active container.
Use its ID to the next command.
$ docker commit CONTAINER_ID NAME
$ docker commit 36bc518588c5 angularcli
Now, we are going to work on the web service’s container.
Usually, we don’t need to exit from a container to create another, but we are going to do it, didactically.
On the container’s prompt, do:
$$ exit
On Windows’ prompt, do:
$ docker stop angularcli
To check, do:
$ docker ps -a
Creating the image for the Spring Boot Web Service
Before you run the command below, set the -v argument using the same host’s path used for the Angular client.
This path is the project’s root path. To make sure, check the previous step if necessary.
The string to replace is highlighted in the command below:
$ docker run –name springbootws -it -p 8081:8081 –network angularxws –rm -v L:\temp2\angularX\angularxws:/data alsdias/d10n16pg11 bash
This command will create the container named springbootws.
Remember that the container is the “running process” created from an image and, the image is the persisted environment.
Installing the Java Environment
NOTE: avoid copying and pasting the commands directly from the post.
Type them, because copying will bring together non-visible chars that will cause malfunction.
Alternatively, you may copy the commands to an editor using *nix CR convention (Linux text file format), and from there you may copy to the prompt.
First, download the JDK file for Linux: Oracle’s site.
In this tutorial it was used jdk-8, but you may use more recent versions, jdk-9, etc.
Go to the container’s prompt and do:
$$ mkdir -p /home/portables
$$ cp /data/server/jdk-8u112-linux-x64.tar.gz /home/portables
$$ cd /home/portables
$$ tar xzvf jdk-8u112-linux-x64.tar.gz
$$ rm jdk-8u112-linux-x64.tar.gz
$$ chmod -R 750 jdk1.8.0_112
Checking:
$$ tree -L 2 /home
Shall return:

Creating the image for the web service container
Now, it is necessary to preserve the changes done by creating an image from the container.
Go to Windows’ prompt, and perform the same procedure used for the client, but this time you’ll get the current ID for the ws container:
$docker ps -l
$docker commit 8f40ca5bb3c0 springbootws

Exit from the container, returning to Windows’s prompt.
$$ exit
Check if the container is stopped:
$ docker stop springbootws

Another way of checking:
$ docker ps -a
Starting both services and testing the site
The creation of the image for the client was not really necessary because it was not performed any procedure that would have required to be saved.
Unlike the client, the installation of the web service required to preserve the changes made.
For the client, you could have kept using the previous command used to create the container for the first time.
Summary: if you change something in the container and desire to save it, it is necessary to perform the “Docker commit” command.
Another detail to notice is that the new images created are local. We haven’t added the “login/” prefix.
The remote images have this prefix like the one pulled before (alsdias/d10n16pg11).
That way, you’ve created a local copy.
If the image created is intended to be pushed to Docker Hub, then use it is added the “login/” prefix to its name.
The next steps will start both containers and their services to access the site and test it.
Starting the Spring Boot WS’s Container
Please, do not forget to switch the host’s path (highlighted).
docker run –name sbws -it -p 8081:8081 –network angularxws –rm -v L:\temp2\angularX\angularxws:/data springbootws bash
Starting the Web Service
$$ cd /data/server
The next command is just peformed the first time:
$$ chmod 775 srv.sh
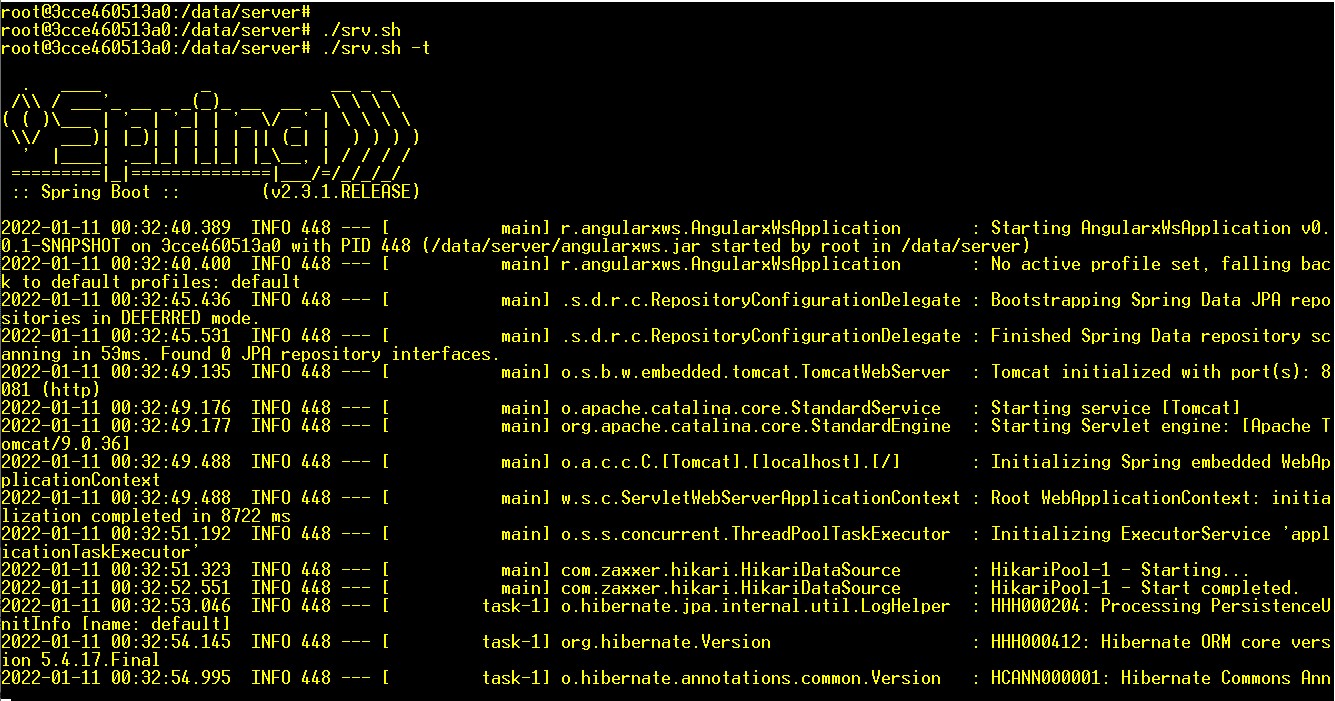
$$ ./srv.sh
To access the server’s output, do:
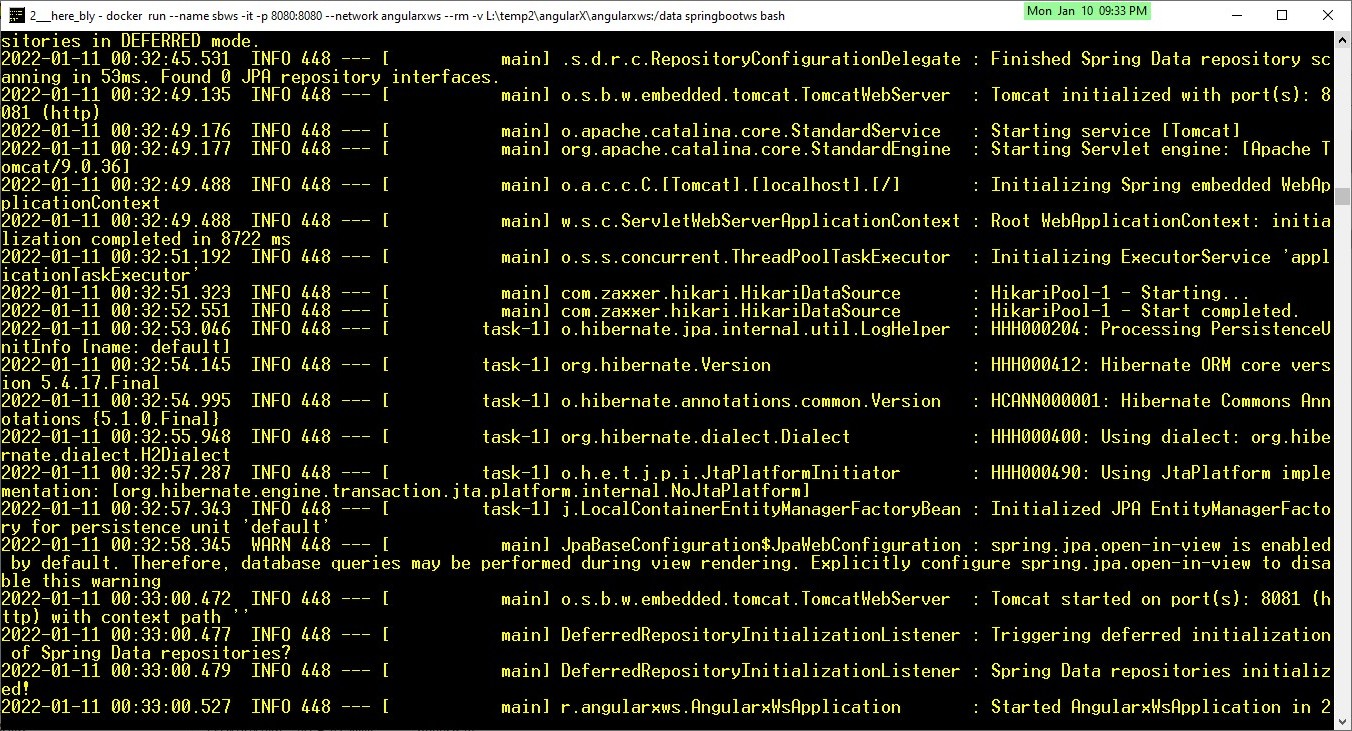
$$ ./srv.sh -t
The server’s output.
Notice in the log that the server shows the service’s port (2nd printscreen).
Testing the service.
You may use the browser or the curl command, pointing to:
http://localhost:8081

$$ curl http://host.docker.internal:8081

Notice that inside the container, instead of using “localhost” it is used “host.docker.internal” if “localhost” fails.
The Web Service Persistence Model
The demo mocks the persistence layer to concentrate on the main target — to run an angular project calling a web service using docker.
If you desire to replace the mock, you may implement a persistence layer replacing it, but it will be required the database.
As you may remember, we have installed PostgreSQL’s database in a previous step.
About the database, you find further information below on the topic “Creating an Image with Database”.
Starting the Angular Client’s Container
Using the image created, let’s repeat the same command but changing it to be used the new image created.
Please, do not forget to switch the host’s path (highlighted).
docker run –name angcli -it -p 4100:4100 –network angularxws –rm -v L:\temp2\angularX\angularxws:/data angularcli bash
Starting the app:
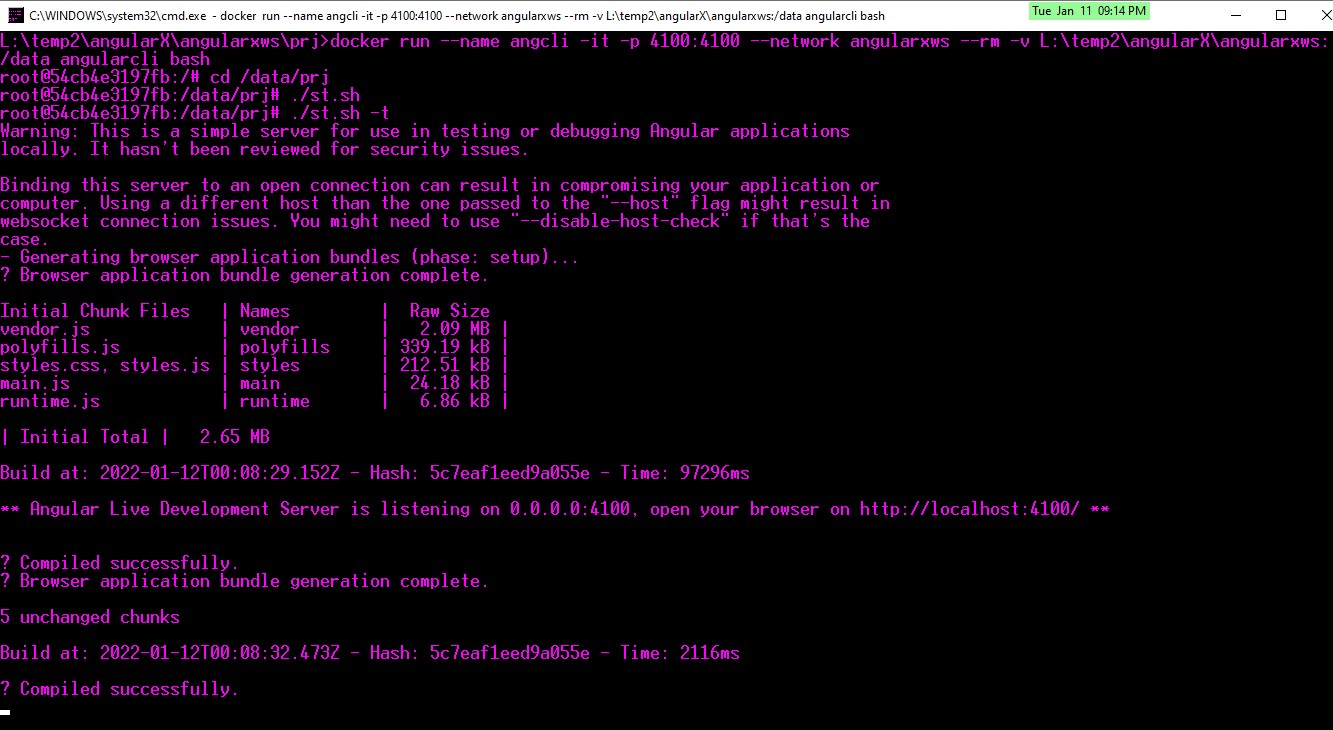
$$ ./st.sh
Obtaining the app’s log output:
$$ ./st/sh -t
To understand how this command works, you may open the st.st file and exam the code.
The app will load and if successful, you get this:
On the browser, point to:
http://localhost:4100
IMPORTANT NOTES
Detail about call’s URL notation
If the usual call using localhost fails, replace it with “host.docker.internal”.
In this demo, it worked with both alternatives.
  // usual, outside docker
  private serverUrl = 'http://localhost:8081'
  // docker
  // private serverUrl = 'http://host.docker.internal:8080'
Brazilian system analyst graduated by UNESA (University Estácio de Sá – Rio de Janeiro). Geek by heart.

